This tutorial is intended for industrial design students at
the TuDelft.
Version 1.1 Maya version 6
comments to d.p.saakes@io.tudelft.nl
© Aernout Peeters , Daniel Saakes, TUDelft 2003,2004
All rights reserved.
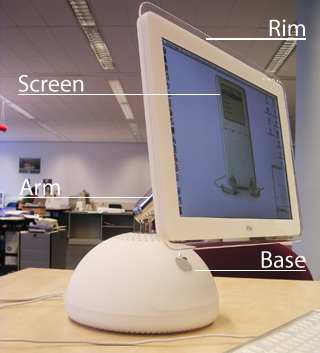
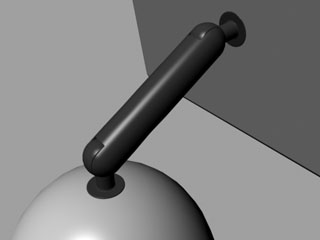
In this tutorial you will render the Apple iMac. The iMac consists of a base of white plastic, an arm of chrome metal and a screen with a transparent rim.
in this first part you will be working with cameras, lights and shadows
The next part will consist of materials Create basic materials: plastics, chromes and translucents and textures. And finally some remarks on making the actual rendering
in this tutorial commands are color coded; important terms are in bold.
lmb, mmb and rmb stand for left, middle and right mouse button. Panel menu the menu in each 3d view, hypershader or renderview. Menu is the menu on top.
Commands can have options. Use the  icon at the end of a menu item to invoke the option windows.
Download the tutorial files and unzip them in a directory of your choice. After unpacking you should have a project folder structure with a scene, source-images subfolder
Open Maya and locate the tutorial folder with menu » file »
project » set...
Locate and open the start_here.mb file to load the prepared geometry for this tutorial.
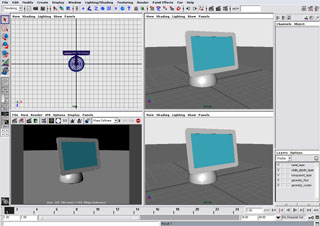
First you change the default layout to a layout which is more suitable for
a lighting the scene. In the left bottom you will place the
render view. In the left bottom panel menu choose Panels
» Panel » Render View
Change the right bottom panel to a perspective view; choose in that panel
menu: Panels » Perspective » Persp. And choose Shading
» Smooth Shade All.
Render the perspective camera. In the render view panelmenu
choose Render » Render » Perspective or press the
render button ![]() on the statusbar of the render view.
on the statusbar of the render view.
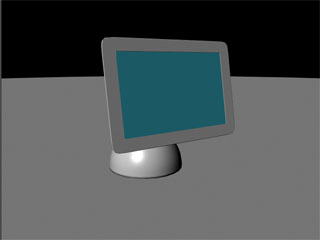
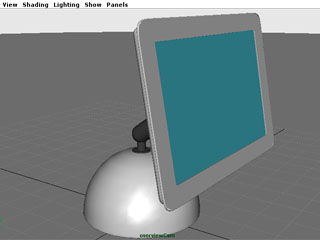
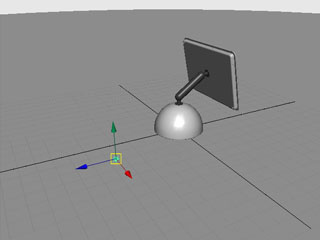
For the presentation you will use two cameras: one close-up detail look and an overview. The two new perspective cameras stay fixed during this tutorial.
After this part you should be able to
If you start here: open the start_cameras.mb file in the
tutorial project.

In the right top panelmenu choose Panels
» Perspective » New to create a camera to render the imac. The
new camera should be selected. In the channelbox
or attribute editor rename the camera ( persp1 ) to "overviewCam".
You can always select the camera in the panelmenu
by View » Select camera or use the outliner.
Move and rotate the camera to roughly match the view above.
Now change the amount of perspective with the focallength of the camera.
The default focal length is 35mm in this case 50mm would be better. In the
attribute editor of the overViewCamShape locate focallength
and change it. Move the camera again to frame the iMac.
In the 3D viewport you can not see the exact area of the rendering; because both have different aspect ratios. To frame a product it is usefull to show the exact rendering area of your camera view.
Choose in the attribute editor of the overviewCamShape
section Display Options » Display Resolution. You will
see white lines depicting the exact render area.
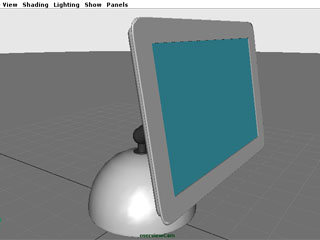
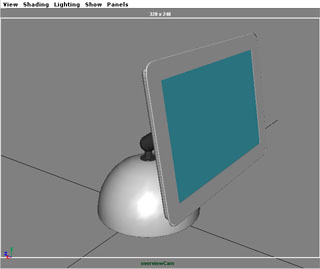
Repeat this to create a new camera in the left top panel. Change the perspective to your liking. Rename this camera to "detailCam".
Render both cameras. And save your work.
After this part you should be able to:
If you start here: open the start_lights.mb file in the
tutorial project.
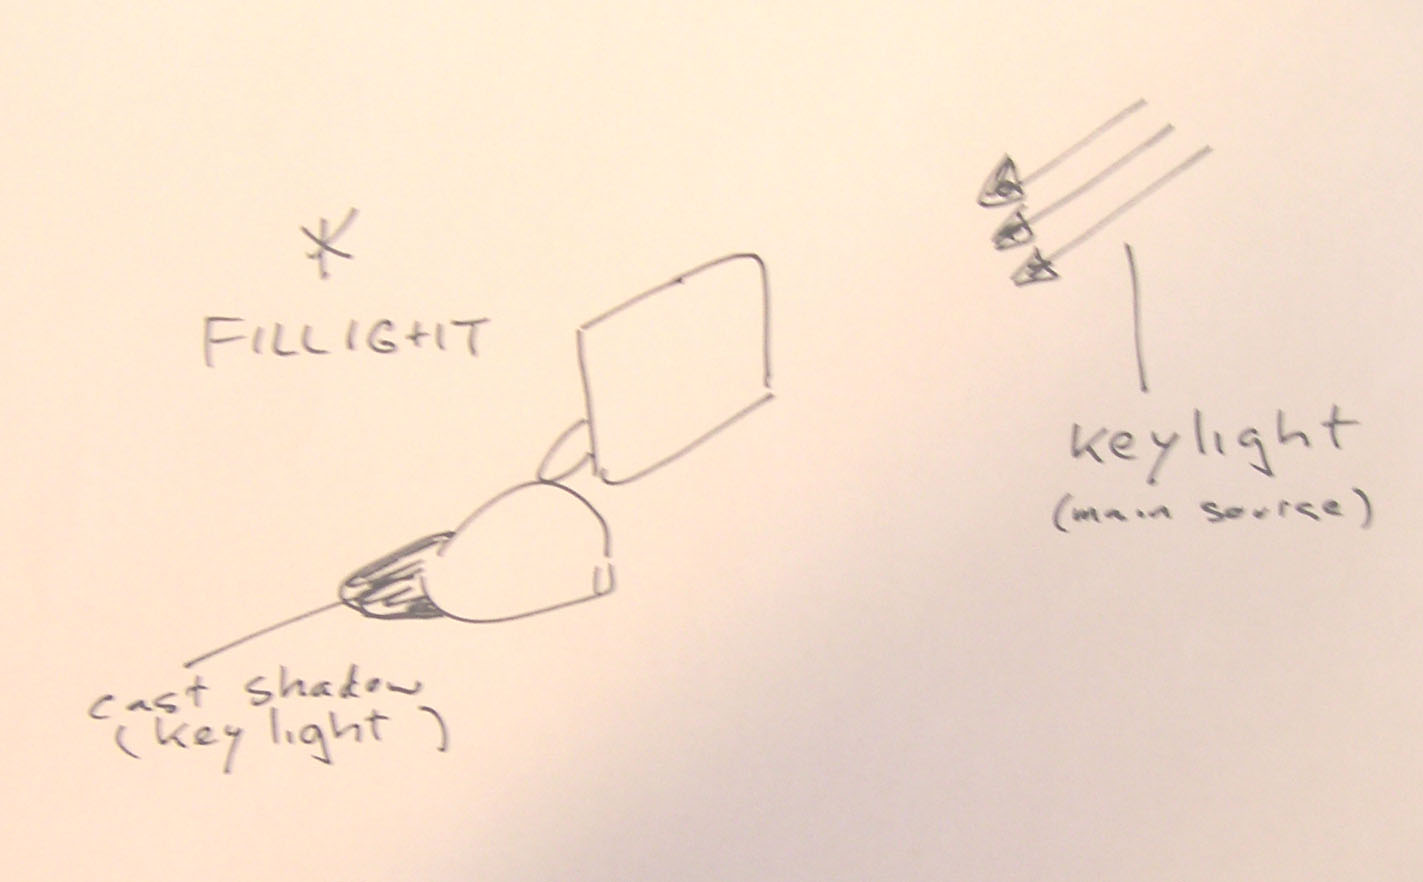
Now you will replace the default lighting for a custom lighting setup. This setup will consist of a directional lightsource ( the keylight) and a point light ( the fill light). For the key lights( the directional ) you will add cast shadows.
First turn of the default lighting in the panels. In the panelmenu
» Lighting check use all lights instead of use
default lighting.
The views become black because you don't have any light yet in your scene.
Now create a directional light. Choose Menu » Create » Lights
» Directional Light. Like all objects the light starts in the origin;
and although the position does not matter; you can better move it up so it's
visible and can be easily selected.
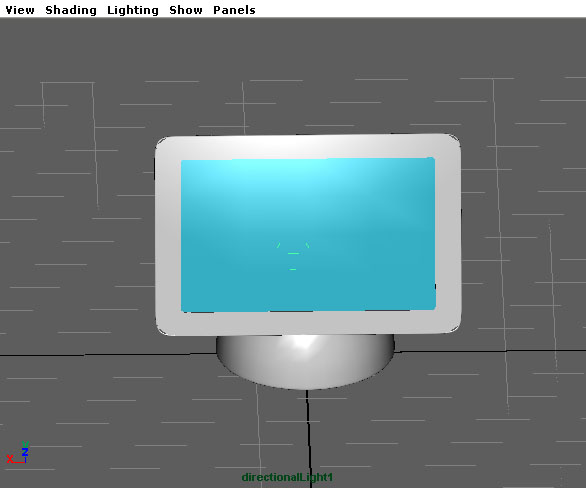
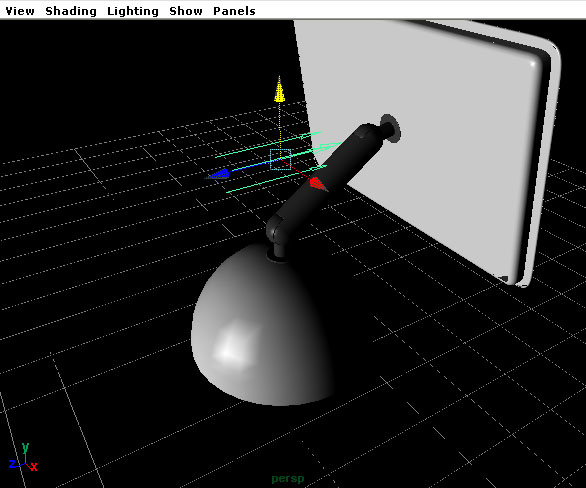
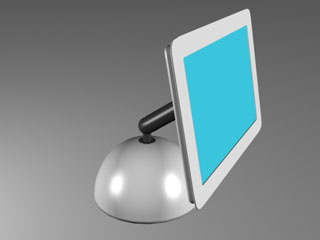
To position the light you can use the standard transform tools but in this
case you will look through the lightsource to position it. In the perspective
view panelmenu choose Panels » Look Through
Selected and aim it as above at the screen.
When you are done, change the panel back to perspective with panelmenu
» perspective » persp.
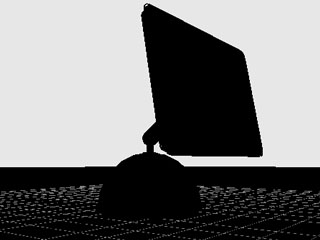
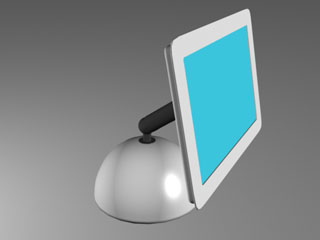
Render the overview. Notice the dark shadow area on the left. With additional lights you can create a more balanced light setup: The multiple light sources to simulate the bouncing of light in a room. Usually you create one main light, called the key light, and one fill light from an opposite direction.
Create a second light ( the fill light ) For this we use a point light which shines in all directions.
Place it behind of the iMac so it will light the dark area.
Render the view. And adjust the intensity of the two lights. Select a light
and in the attribute editor locate and adjust the intensity
. Render again and repeat this untill you're satisfied. The material of the
base is white so it should look white; we had to raise the intensity of the
directional light.
Secondly notice the two specular highlights in the last render. Since we are using the second lightsource for ambient reflecting we turn this highlight of. In the attribute editor of the pointlight you can disable the emit specular checkbox just below the intensity. Render again.
In Maya you can turn on cast shadows for each lightsource individually. Usually you pick the key light for shadows.
There are two types of cast shadows: depthmap shadows and raytrace shadows. Depthmap shadows are quick to calculate but can give a lot of glitches and rendering errors.
The second type is raytrace shadows which is the only option if you use transparent objects but are generally slow.
In this part we'll be using raytrace shadows.If you start here: open the start_shadows.mb
file in the tutorial project.

First turn on raytracing. In the render view
panelmenu choose Options » Render Globals...
or press the render globals button ![]() .
.
In the render globals window switch Render Using: to mental ray, open the mental ray-tab and in the Raytracing section
make sure raytracing is checked. Close the render globals window and render.
Notice the reflections. Now you will change the depthmap shadow to a raytrace
shadow. In the attribute editor of the directional light
turn on Use Raytrace Shadows. Notice that the depthmap shadows are turned off. Render the view again.
The sharpness of raytrace shadows can be tweaked with the Light Angle
parameter. This basically gives the shadows rays a wider spread producing
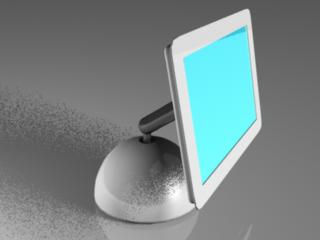
a soft shadow. First increase the Light Angle attribute of the raytrace shadows. Render the view.
To avoid the grainy result you will have to increase the number of shadow rays as well.
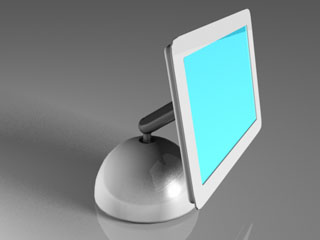
Increase the shadowsrays to 8 to smooth the grainy look. Render again and notice the increased render time.
Save your work.
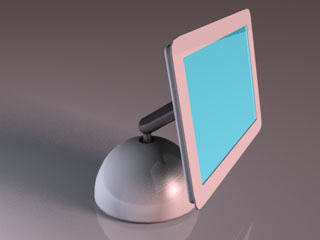
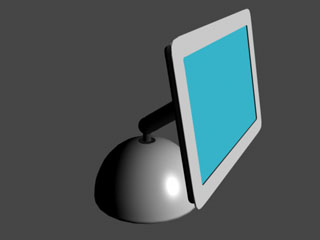
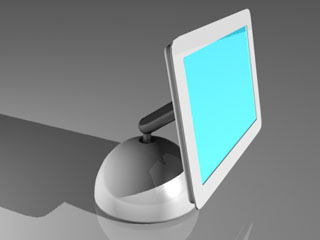
To further improve the lighting of the scene experiment with slightly colored lights. Warm versus Cold. And play with the spot and area lights..
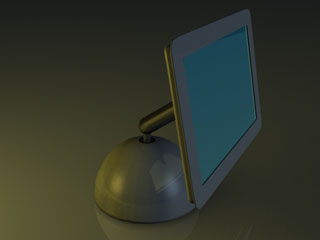
Note that in these last two images we only changed the intensity , color and emit diffuse attributes of the two lights.
Continue with the next part : materials